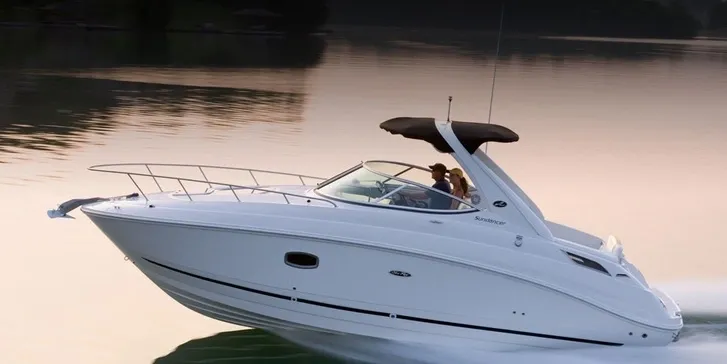
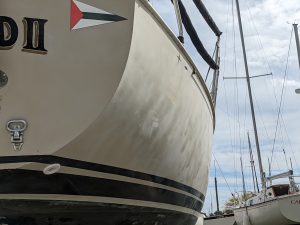
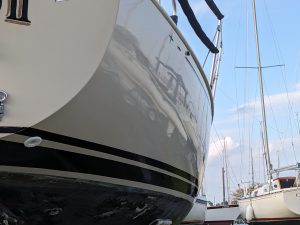
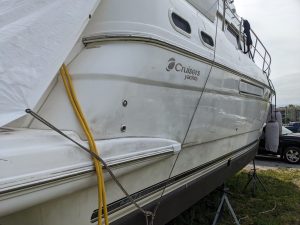
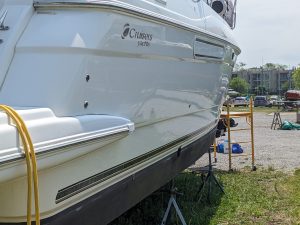
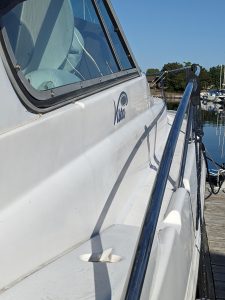
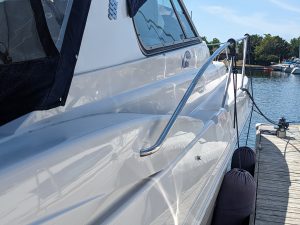
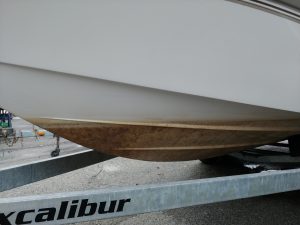
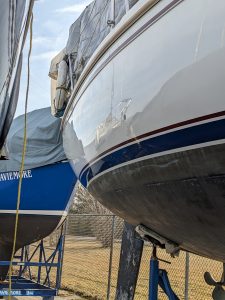
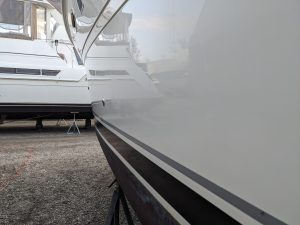
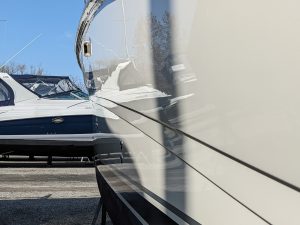
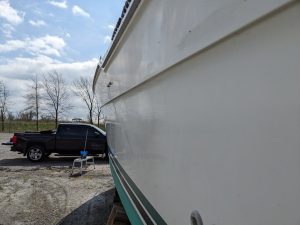
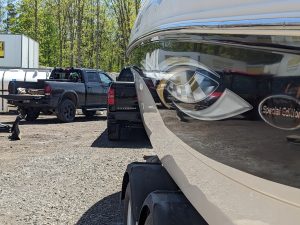
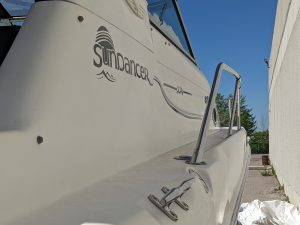
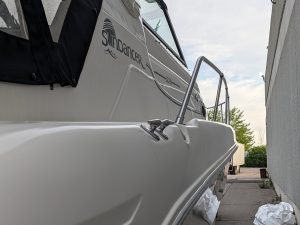
Our Process
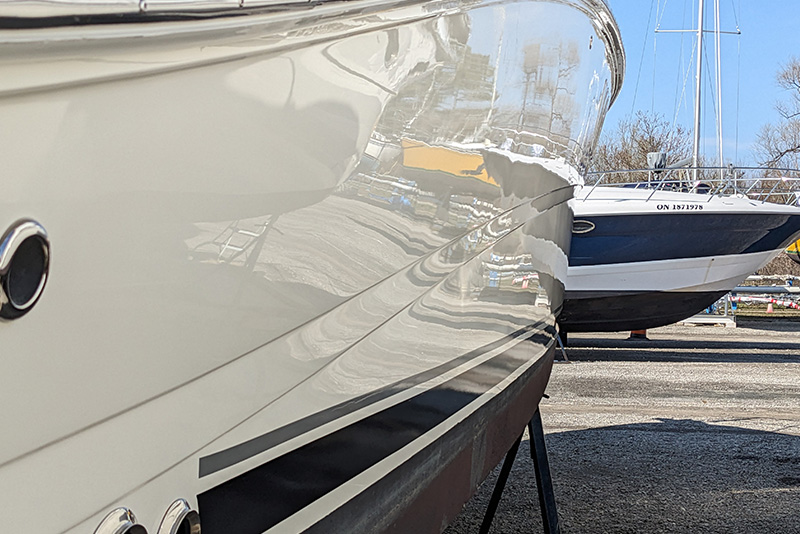
Restoring the SHINE of your boat
Step 1: Initial Wash
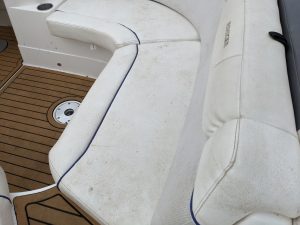
A decontamination wash is essential to start correcting the gelcoat by scrubbing/washing the boat to remove old waxes and dirt to prepare the surface for restoration.
Step 2: Oxidation Removal
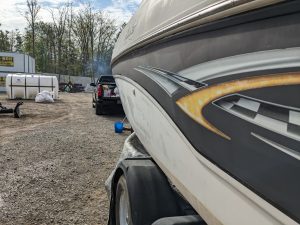
If the boat has heavy oxidation, it will be wet sanded as needed, particularly if it leaves a chalky residue at first touch. This will be followed by compounding to reveal the glossy gelcoat underneath.
Step 3: Polishing
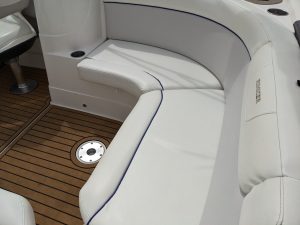
Polishing will eliminate any scratches or swirls left from compounding and provide a protective layer.
Step 4: Protection
Once compounded and polished, GTHN will apply a coat of wax, polymer sealant or ceramic coating to protect the finish.
Step 5: Maintenance
Routine maintenance is essential for preserving the gelcoat. Regularly washing the boat and reapplying protective sealants will help keep it looking its best.
Name Registration Number Removal Install Grimsby
Removing and installing your boat's name and registration numbers is a detail-oriented process that protects your vessel's finish while ensuring compliance with marine regulations. Whether you're refreshing your boat's identity, preparing for sale, or updating registration information, proper removal and installation techniques prevent damage to your gelcoat and hull. GTHN Boat Polishing specializes in name and registration number removal and install work throughout Grimsby and the surrounding Golden Horseshoe region, handling this service with the same precision we bring to our gelcoat restoration and ceramic coating applications.
Grimsby boat owners understand the importance of maintaining their vessels' appearance and value. Situated along the Niagara Peninsula near Lake Ontario, Grimsby attracts serious recreational boaters who keep their craft at local marinas and docks year-round. When it comes time to change your boat's name, update your registration numbers, or remove old lettering before applying new vinyl, the work needs to be done right-without scratching or oxidizing the surrounding gelcoat.
Step 1: Assess the Current Lettering and Adhesive Type
Before beginning any removal work, determine what you're working with. Boat names and registration numbers may be applied as vinyl decals, painted lettering, or adhesive-backed vinyl sheeting. Each material requires a different approach. Vinyl decals typically lift cleanly with heat and careful hand work, while painted numbers may need chemical solvents or light abrasion. Run your hand over the lettering and check the edges-vinyl will feel slightly raised, while paint sits flush with the gelcoat surface.
The adhesive underneath matters equally. Marine-grade adhesives used on boats are formulated to withstand saltwater, UV exposure, and temperature swings. This means they bond aggressively and resist simple pulling. Identifying whether you're dealing with standard pressure-sensitive adhesive or marine-specific formulations helps you select the right removal technique. GTHN Boat Polishing assesses your specific lettering type during an on-site visit in Grimsby, then applies the method that minimizes risk to your boat's finish.
Step 2: Use Heat and Gentle Tension to Remove Vinyl Lettering
Vinyl decals and numbers respond well to controlled heat application. Using a heat gun on a low to medium setting, warm the vinyl lettering gradually-about 2 to 3 minutes per section. The goal is to soften the adhesive without damaging the gelcoat beneath. Keep the heat gun moving and maintain a distance of 6 to 8 inches from the surface to avoid concentrated hot spots that can blister or discolor your boat's hull.
Once warmed, begin lifting one corner or edge of the vinyl with a plastic scraper or your fingernail. Apply steady, controlled tension-never yank or pull at sharp angles, as this can gouge the gelcoat or leave adhesive residue. Work slowly around the entire piece, reheating sections as needed. If the lettering begins to tear, stop and reapply heat rather than forcing it. Patience during this step prevents costly damage and keeps your boat's surface intact. After removing the vinyl, you'll be left with adhesive residue that requires a separate treatment.
Step 3: Remove Adhesive Residue and Clean the Surface
Once the vinyl is gone, adhesive residue remains. This sticky film must be completely removed before you can install new lettering or move forward with other detailing work. For marine applications in Grimsby, where boats face salt spray and UV stress, a clean surface is non-negotiable.
Apply a marine-grade adhesive remover specifically formulated for fiberglass and gelcoat. These products break down the bond without harming your boat's finish-unlike household solvents that can soften or discolor gelcoat. Spray or apply the remover generously and let it sit for 5 to 10 minutes, then gently rub the residue away with a soft cloth or plastic scraper. Repeat as needed until no stickiness remains. Finish by washing the area with fresh water and mild soap to remove any remaining chemical residue, then dry thoroughly with a clean microfiber towel.
A properly cleaned surface is the foundation for new lettering adhesion and long-term appearance. Rushing this step leads to poor adhesive contact, early peeling, and a disappointing result.
Step 4: Inspect and Polish the Exposed Surface
With lettering removed and adhesive gone, the exposed gelcoat may look dull, discolored, or show oxidation marks. This is normal-the area has been protected from UV and weather, while surrounding areas have aged. The contrast highlights exactly where your boat's name or numbers lived. This is the ideal moment to polish and blend the newly exposed area with the surrounding hull.
Use a fine-grit marine polishing compound followed by a boat-specific gloss polish. Work in small sections with a soft buffing pad, applying moderate pressure. The goal is to restore shine and even out any color variation between the previously protected area and the rest of your hull. For boats in Grimsby that spend significant time in the water, this polishing step also removes any early oxidation that may have begun forming beneath the lettering. A properly polished hull looks intentional and unified rather than patched.
Step 5: Prepare the Surface for New Lettering Installation
Before applying new name and registration number vinyl, ensure the surface is completely clean and properly prepared. Any dust, salt residue, or oils will compromise adhesion and cause new lettering to peel prematurely. Wipe the area one final time with a lint-free cloth slightly dampened with isopropyl alcohol. This removes surface contaminants without leaving residue. Allow the alcohol to evaporate completely-typically 3 to 5 minutes-before proceeding.
If your boat sits at a Grimsby marina or mooring, timing matters. Apply new vinyl on a calm, dry day with temperatures between 50 and 85 degrees Fahrenheit. Cold temperatures reduce adhesive tackiness, while extreme heat can cause the vinyl to expand and create bubbles. These conditions ensure your new lettering bonds correctly and stays in place through seasons of boating and weather exposure.
Step 6: Apply New Registration Numbers and Boat Name
Measure and mark the placement of your new lettering before applying any vinyl. Use painter's tape to outline the positioning, step back, and verify it looks balanced and professional. Boat registration numbers are typically positioned on the hull according to your province's marine regulations, while boat names have more flexibility but should be prominently visible.
When you're confident in placement, carefully peel back the vinyl from its transfer tape and apply it to the prepared surface, starting from the center and working outward to avoid trapping air bubbles. Use a squeegee or plastic applicator tool to press the vinyl firmly into place, working methodically across the entire piece. Once applied, remove the transfer tape slowly and at a shallow angle. Any bubbles that remain can be punctured with a fine needle and smoothed out, though proper application technique minimizes this issue.
For boat owners in Grimsby who prefer to skip the DIY approach entirely, GTHN Boat Polishing handles name and registration number removal and install work as part of our comprehensive mobile boat detailing service. We come to your marina, dock, or storage location, manage the entire process with professional-grade materials and techniques, and ensure your boat looks polished and compliant when we're done.
| Lettering Type | Removal Method | Difficulty Level | Risk to Gelcoat |
|---|---|---|---|
| Vinyl Decal | Heat gun plus gentle tension | Low to Medium | Low if done carefully |
| Adhesive-Backed Vinyl | Heat, plastic scraper, adhesive remover | Medium | Medium if rushed |
| Painted Lettering | Fine-grit sanding or chemical stripper | High | High without experience |
The difference between a DIY removal that leaves scratches and a professional result comes down to patience, proper tools, and knowledge of marine materials. GTHN brings that expertise to every job in Grimsby, treating your boat with the care it deserves while delivering results that protect your investment and refresh your vessel's appearance.
Frequently Asked Questions
Can I remove my boat's name and registration numbers without damaging the gelcoat?
Yes, with proper technique. Using controlled heat, marine-grade adhesive removers, and gentle hand tools prevents damage. The key is working slowly and avoiding sharp pulls or concentrated heat. If you're uncomfortable with the process, professional boat detailing services handle this work safely with specialized equipment and materials designed for marine finishes.
How much does boat name and registration number removal and install cost in Grimsby?
Pricing depends on the lettering size, type of adhesive, and whether you're having new lettering installed. Contact GTHN Boat Polishing for a mobile consultation at your Grimsby marina or dock-we'll assess your boat's specific needs and provide transparent pricing before any work begins.
What's the best time to remove old lettering and install new boat names in Grimsby?
Spring and early fall are ideal, when temperatures are moderate and weather is typically calm. Avoid cold winter months when adhesives don't bond well, and extreme heat that can cause vinyl expansion. Most Grimsby boat owners schedule this work during their regular maintenance season to keep their vessels looking fresh.
Customer Testimonials
Kevin D, Caledon
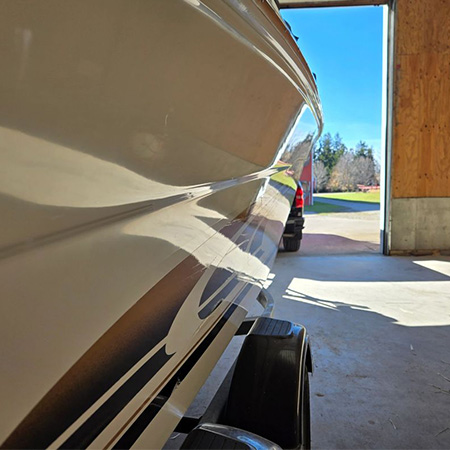
I couldn’t be happier with how the ceramic coating turned out on my boat! I was blown away and the boat looks awesome! The shine is incredible and I know it will last. GTHN did an amazing job! Highly recommended!
Jan P, Hamilton
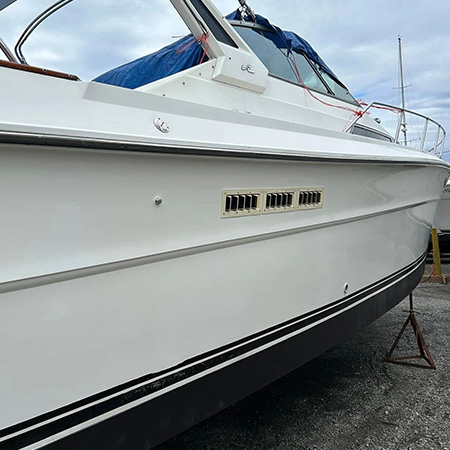
I had GTHN polish my boat. He did a fantastic job! Upfront and honest, and worked very hard. I highly recommend them!
Chris B, Hamilton
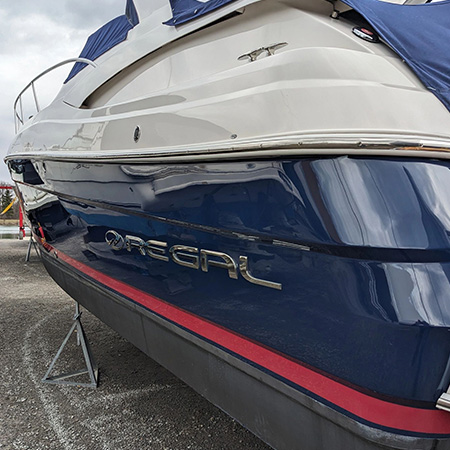
It’s hard to find reliable people in this industry, but Neil was one of them. Price was fair, work was awesome, communication throughout was above and beyond. I will use GTHN again and would highly recommend if you found them, you do the same.
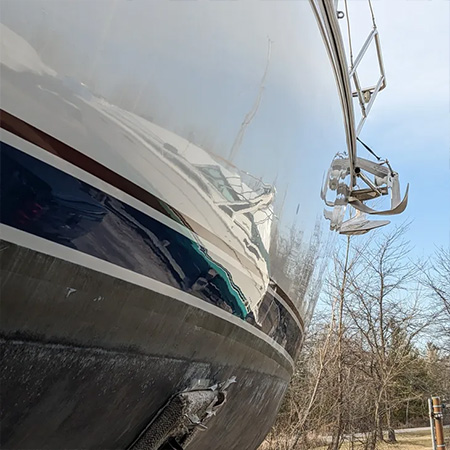
Phong T, Kitchener
This was the first time I worked with Neil and the experience was great. He came out to do a couple of test spots before we settled into a quote and the rest of the scheduling was just as easy. The end result was fantastic.
Definitely recommended!!! 🙂
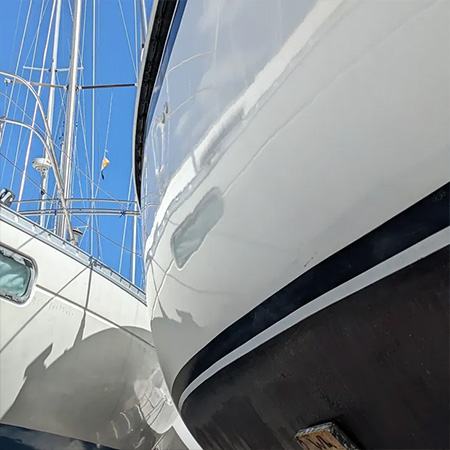
Diego M, Toronto
I’m amazed with the work that was done. I highly recommend it 100%
Fast and best ever results. Thanks Neil for your time and effort.
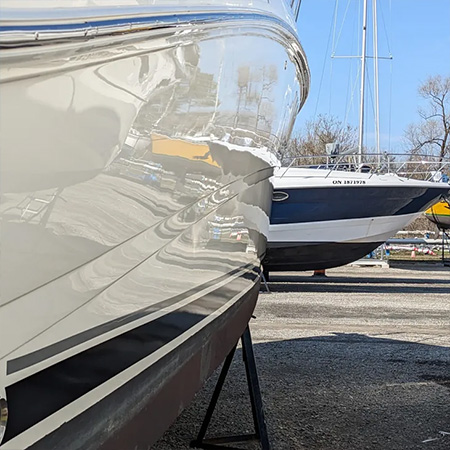
Steve B, Hamilton
We are beyond happy with the work done on polishing the hull of our boat. Not only is the work amazing, but Neil went out of his way to get our boat ready on time for launching. Small touches like putting painters tape on the line separating the gel coat and bottom paint are appreciated. As is the extra time spent on trouble spots. Highly recommend GTHN Boat Polishing!
We Will Come To You!
Feel free to contact us with any questions regarding your boat! We would love to help!
GTHN Boat Polishing
info@gthnboatpolishing.ca – 289-698-5909
CALL – TEXT – EMAIL