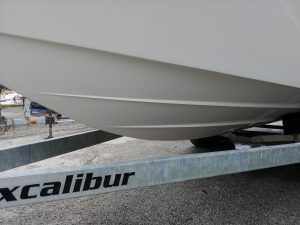
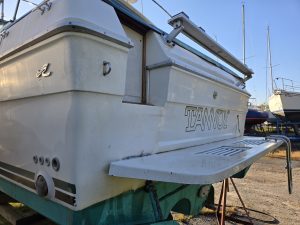
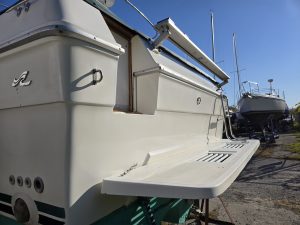
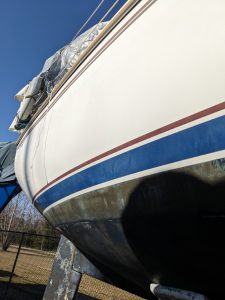
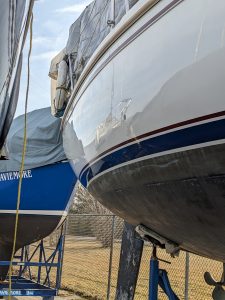
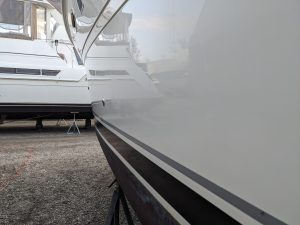

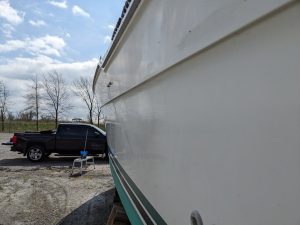
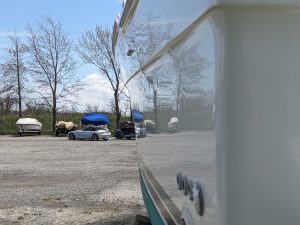
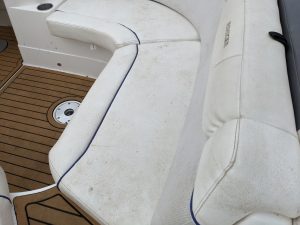
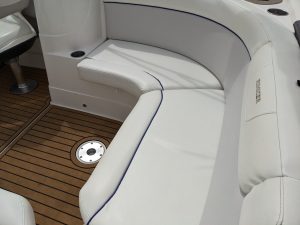
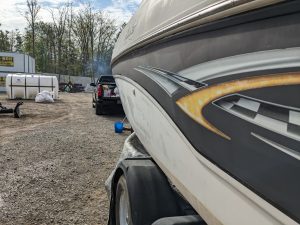
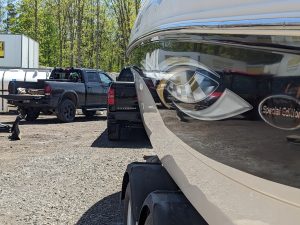
Our Process
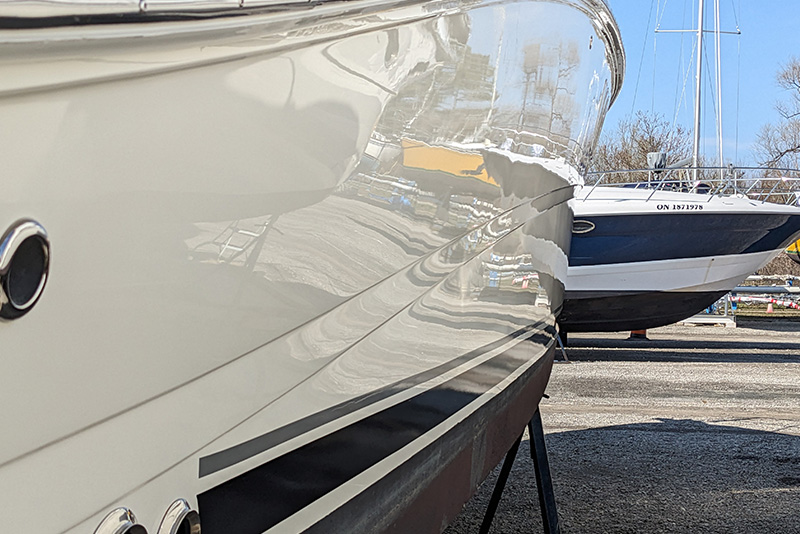
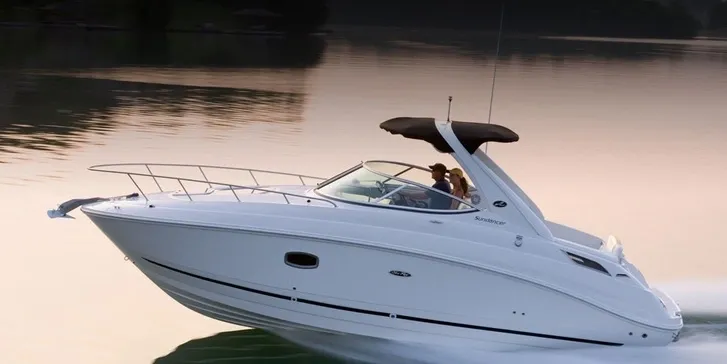
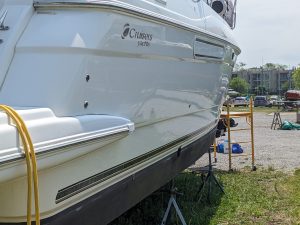
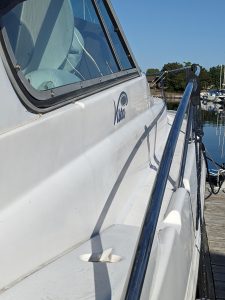
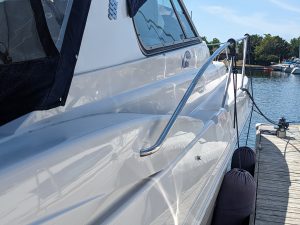
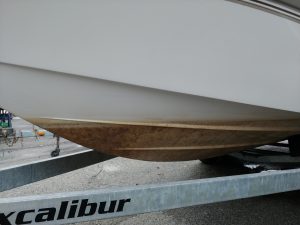
Restoring the SHINE of your boat
Step 1: Initial Wash
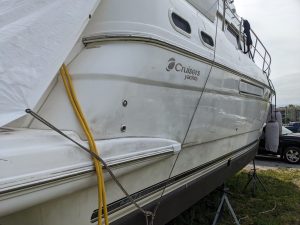
A decontamination wash is essential to start correcting the gelcoat by scrubbing/washing the boat to remove old waxes and dirt to prepare the surface for restoration.
Step 2: Oxidation Removal
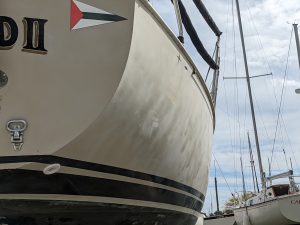
If the boat has heavy oxidation, it will be wet sanded as needed, particularly if it leaves a chalky residue at first touch. This will be followed by compounding to reveal the glossy gelcoat underneath.
Step 3: Polishing
Polishing will eliminate any scratches or swirls left from compounding and provide a protective layer.
Step 4: Protection
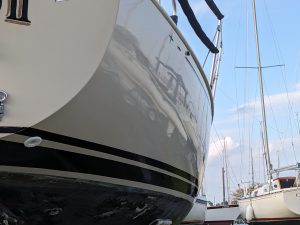
Once compounded and polished, GTHN will apply a coat of wax, polymer sealant or ceramic coating to protect the finish.
Step 5: Maintenance
Routine maintenance is essential for preserving the gelcoat. Regularly washing the boat and reapplying protective sealants will help keep it looking its best.
Mississauga Wet Sanding
Wet sanding is a controlled abrasive process that removes oxidation, scratches, and dull spots from your boat's gelcoat surface without generating heat damage that dry sanding causes. When done correctly, this multi-stage technique restores clarity and depth to your finish, preparing it for ceramic coating or final polish. GTHN Boat Polishing performs this service across the Greater Toronto Area, including Mississauga wet sanding for boat owners who want their vessels looking showroom-ready again.
Boat owners in Mississauga and the surrounding waterfront communities understand that a faded or oxidized hull diminishes both the appearance and resale value of a significant investment. Wet sanding addresses this problem directly, but it requires precision, the right equipment, and knowledge of gelcoat chemistry. This guide walks you through the process as we execute it at GTHN Boat Polishing, so you understand what professional restoration involves.
Step 1: Assess the Gelcoat Condition and Choose Your Grit Sequence
Before water ever touches your boat, we perform a thorough inspection of the hull. We identify the depth and severity of oxidation, checking for scratches, weathering patterns, and any areas that need specialized attention. This assessment determines which grit sequence we'll use. For light oxidation, we might begin with 1500 grit. For deeper scratches or heavy oxidation common in Mississauga's waterfront climate, we may start with 800 or 1000 grit and work progressively finer. The goal is always the gentlest sequence that achieves results, because aggressive grits remove more material than necessary.
We document the boat's starting condition with photographs, so you can see the transformation. This also protects both parties by establishing a clear baseline. Gelcoat thickness varies among manufacturers and boat ages, so understanding what you're working with prevents sanding through to the fiberglass beneath. A quality moisture meter and visual inspection tell us how much material is safe to remove.
Step 2: Prepare the Work Area and Protect Surrounding Components
Wet sanding generates a fine slurry of water and gelcoat particles. At GTHN Boat Polishing, we work at your Mississauga marina, dock, or storage location, so protecting the environment and your other equipment matters. We mask off windows, hardware, teak trim, and any non-gelcoat surfaces with quality tape and plastic sheeting. We also position collection tarps to catch runoff and contain the slurry, which is important both for site cleanliness and responsible practice.
Water management is critical. We confirm that our water source is adequate and that we have drainage planned. The boat's condition and your location determine whether we work on the water or in storage. Either way, we account for water pooling, electrical safety, and access. We also ensure nearby vessels are protected from overspray and that our work doesn't interfere with marina traffic or neighbor access.
Step 3: Perform the Initial Wash and Surface Decontamination
We begin with a thorough rinse using fresh water and a soft brush to remove loose salt, dirt, and debris. This cleaning step is not optional, because contaminants trapped under the sanding pad will gouge your gelcoat. We then use a clay bar or decontamination wash to lift embedded rail dust, salt spray residue, and oxidation that water alone won't remove. This is the reason we recommend professional decontamination wash services as part of seasonal maintenance. A clean surface means the sanding process works efficiently and produces a uniform finish.
Once the surface is clean and we've allowed adequate drying time, we inspect again. We look for any remaining contaminants, tape any newly identified problem areas, and confirm our grit plan. We also mark low spots or areas of concern so we don't miss them during wet sanding.
Step 4: Begin Wet Sanding with Your First Grit
We attach the appropriate grit sandpaper to a dual-action or orbital sanding pad, starting with the coarsest grit in our planned sequence. We maintain constant water flow across the work area, typically using a spray bottle or connected water line. The water serves three purposes: it cools the surface, suspends the abraded gelcoat particles so they don't redeposit, and allows the sandpaper to cut cleanly without clogging.
We work methodically across the hull in overlapping passes, using light to medium pressure and maintaining consistent speed. We do not bear down hard; the paper and water do the work. We keep the pad flat against the surface and resist the urge to sand corners and edges aggressively, because these areas are already thinner. After each grit pass, we rinse thoroughly, dry the surface, and inspect our progress. The entire hull should show a consistent haze pattern, indicating even coverage.
Step 5: Progress Through Intermediate Grits
Depending on our starting point, we progress through 1200 grit, 1500 grit, and sometimes 2000 grit. Each step refines the surface further, removing the scratch pattern from the previous grit. This multi-stage approach is what distinguishes professional wet sanding from a single aggressive pass. At each stage, we rinse, dry, inspect, and confirm that the haze pattern is uniform. Spot checking under different light angles helps us catch missed areas before moving to the next grit.
We also monitor the sandpaper condition. Clogged or worn paper produces poor results and takes longer, so we replace it as needed. This adds cost in time and materials, but it's the difference between adequate work and the quality you expect. Each grit removes the scratches from the previous one, leaving progressively finer surface texture. By the final grit, your hull will feel almost smooth to the touch, even though we've only sanded microscopically.
Step 6: Final Rinse, Dry, and Surface Inspection
After the final grit pass, we rinse the entire hull thoroughly with fresh water and allow it to dry completely. We then inspect under multiple lighting angles to confirm that the finish is uniform, that all oxidation is removed, and that no areas were missed. We look for any remaining high spots or low areas that might require targeted touch-up work. We also confirm that the surface is clean and free of dust, because any particles left behind will compromise the next step, whether that's polishing, ceramic coating application, or SeaDek marine flooring installation.
This inspection phase is not rushed. We understand that your boat is an investment, and we document our completed wet sanding work with photographs from the same angles we used at the start. This visual record confirms the transformation and provides reference material if any warranty discussions arise later. At this point, your hull is smooth, uniform in appearance, and ready for the protection and shine restoration that follows.
| Grit Stage | Best For | Surface Result | Typical Time Per Hull Area |
|---|---|---|---|
| 800-1000 | Heavy oxidation, deep scratches | Dull matte finish | Longer; removes more material |
| 1200-1500 | Refinement after initial pass | Hazy, brightening appearance | Moderate; intermediate smoothing |
| 2000+ | Final polish preparation | Smooth, light-reflective | Shortest; fine final detail |
Understanding the wet sanding process helps you appreciate why professional execution matters. Mississauga boat owners with sailboats, cruisers, and recreational powerboats rely on GTHN Boat Polishing to restore their hulls because the work is technical, time-intensive, and demands expertise. We bring our equipment and experience to your boat, eliminating the hassle of transport while delivering results you can see and feel immediately.
If your boat's finish has lost its clarity or you've noticed oxidation building up despite regular care, wet sanding is the remedy. We're ready to discuss your specific situation, evaluate your hull, and create a restoration plan that fits your goals and timeline. Contact GTHN Boat Polishing to learn how we can bring your vessel back to life.
Frequently Asked Questions
How long does wet sanding take for a typical boat in Mississauga?
A complete wet sanding job typically takes 8 to 16 hours depending on hull size, condition severity, and whether we're treating the entire hull or spot areas. A 30-foot powerboat with moderate oxidation generally needs 12 to 14 hours. We schedule work across your convenience and the boat's availability, often completing it over one or two days.
What's the difference between wet sanding and dry sanding for boat restoration?
Wet sanding uses water to cool the surface, suspend particles, and allow the abrasive to cut cleanly without clogging. Dry sanding generates heat, clogs faster, and risks heat damage to the gelcoat. Wet sanding produces superior results and is the industry standard for professional boat detailing and restoration.
Do I need to do anything to my boat after GTHN completes the wet sanding?
After we finish, the hull is ready for ceramic coating application, polishing, or other protective treatments. We recommend scheduling those services promptly so the freshly sanded gelcoat doesn't re-oxidize. We can coordinate the full restoration process as a seamless sequence, leaving you with a showroom-quality finish.
Customer Testimonials
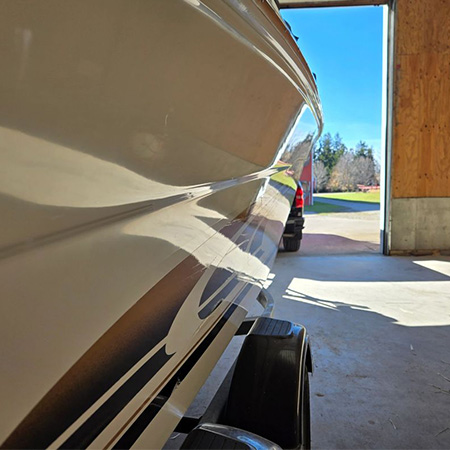
Kevin D, Caledon
I couldn’t be happier with how the ceramic coating turned out on my boat! I was blown away and the boat looks awesome! The shine is incredible and I know it will last. GTHN did an amazing job! Highly recommended!
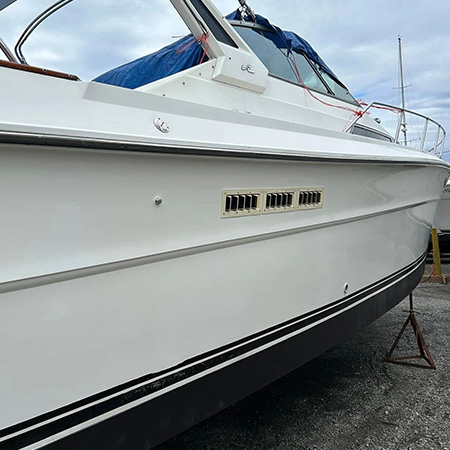
Jan P, Hamilton
I had GTHN polish my boat. He did a fantastic job! Upfront and honest, and worked very hard. I highly recommend them!
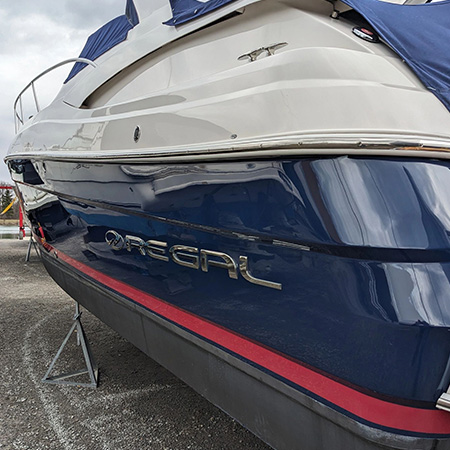
Chris B, Hamilton
It’s hard to find reliable people in this industry, but Neil was one of them. Price was fair, work was awesome, communication throughout was above and beyond. I will use GTHN again and would highly recommend if you found them, you do the same.
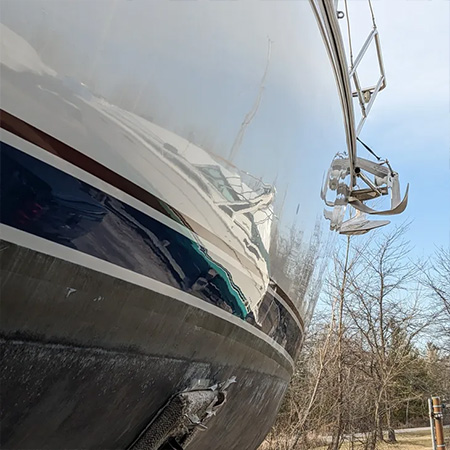
Phong T, Kitchener
This was the first time I worked with Neil and the experience was great. He came out to do a couple of test spots before we settled into a quote and the rest of the scheduling was just as easy. The end result was fantastic.
Definitely recommended!!! 🙂
Diego M, Toronto
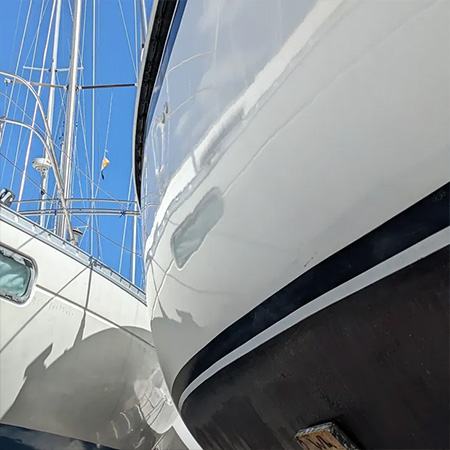
I’m amazed with the work that was done. I highly recommend it 100%
Fast and best ever results. Thanks Neil for your time and effort.
Steve B, Hamilton
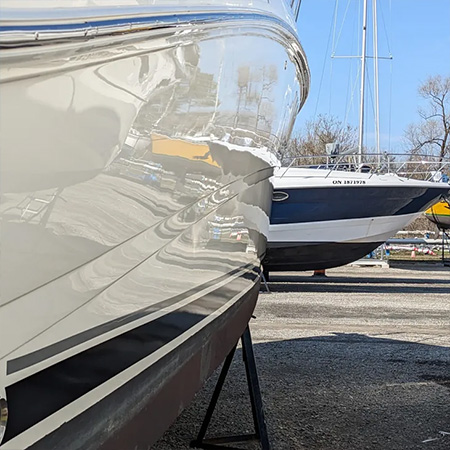
We are beyond happy with the work done on polishing the hull of our boat. Not only is the work amazing, but Neil went out of his way to get our boat ready on time for launching. Small touches like putting painters tape on the line separating the gel coat and bottom paint are appreciated. As is the extra time spent on trouble spots. Highly recommend GTHN Boat Polishing!
We Will Come To You!
Feel free to contact us with any questions regarding your boat! We would love to help!
GTHN Boat Polishing
info@gthnboatpolishing.ca – 289-698-5909
CALL – TEXT – EMAIL