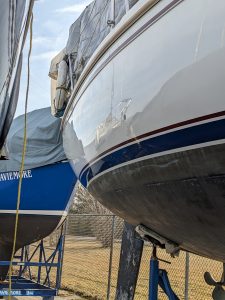
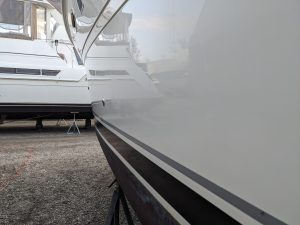
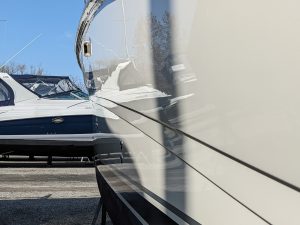
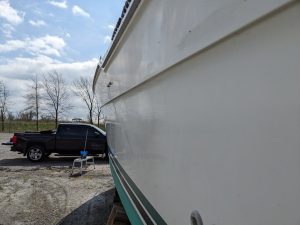
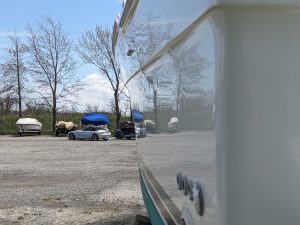
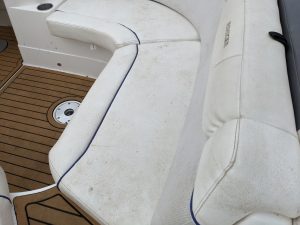
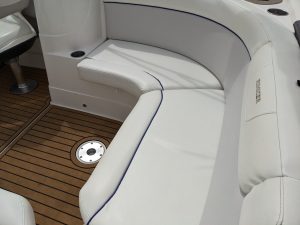
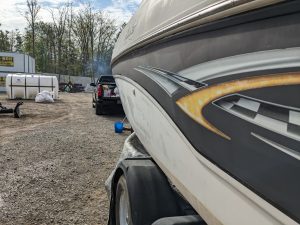
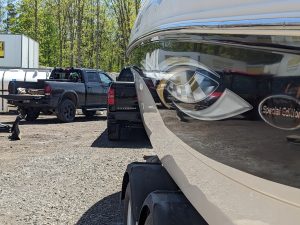
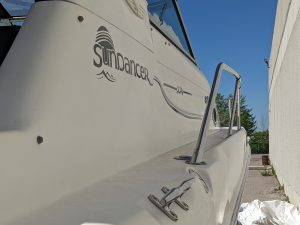
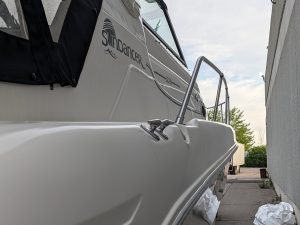
Our Process
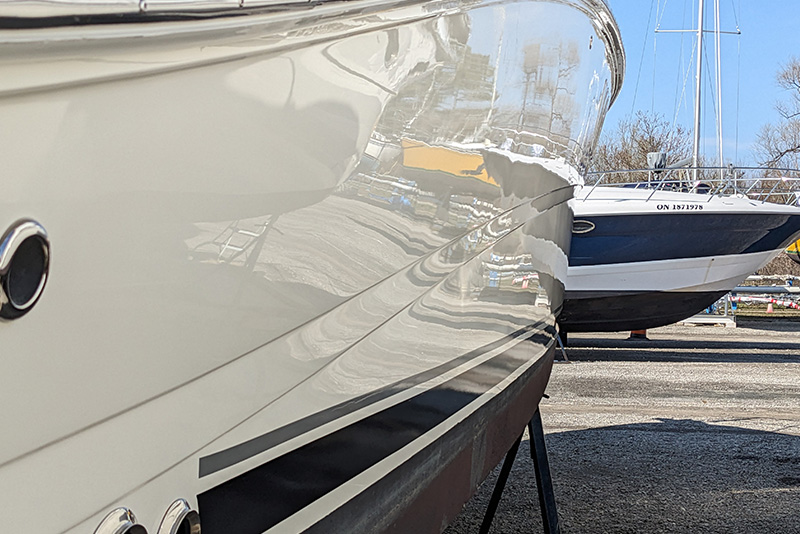
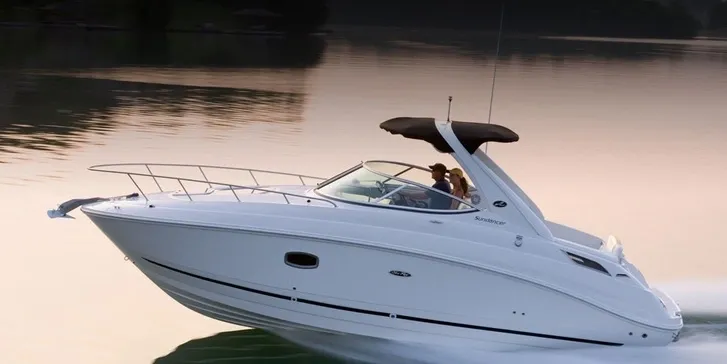
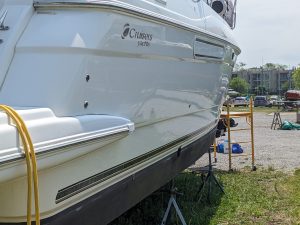
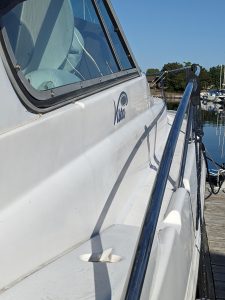
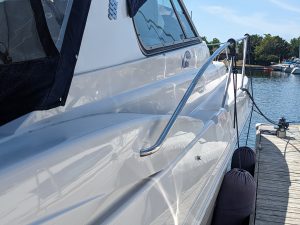
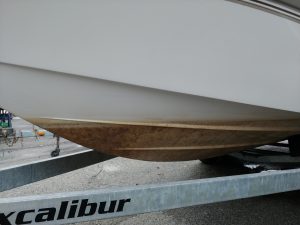
Restoring the SHINE of your boat
Step 1: Initial Wash
A decontamination wash is essential to start correcting the gelcoat by scrubbing/washing the boat to remove old waxes and dirt to prepare the surface for restoration.
Step 2: Oxidation Removal
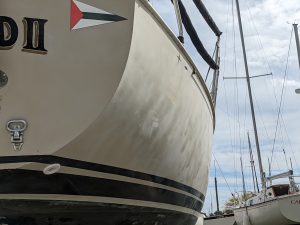
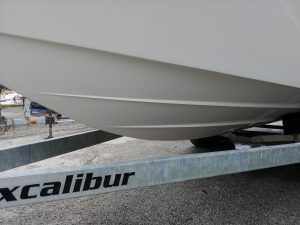
If the boat has heavy oxidation, it will be wet sanded as needed, particularly if it leaves a chalky residue at first touch. This will be followed by compounding to reveal the glossy gelcoat underneath.
Step 3: Polishing
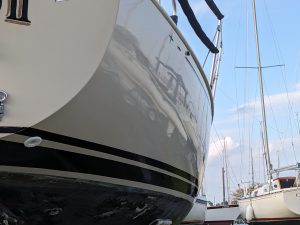
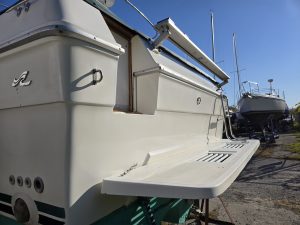
Polishing will eliminate any scratches or swirls left from compounding and provide a protective layer.
Step 4: Protection
Once compounded and polished, GTHN will apply a coat of wax, polymer sealant or ceramic coating to protect the finish.
Step 5: Maintenance
Routine maintenance is essential for preserving the gelcoat. Regularly washing the boat and reapplying protective sealants will help keep it looking its best.
Brantford Name Registration Number Removal Install
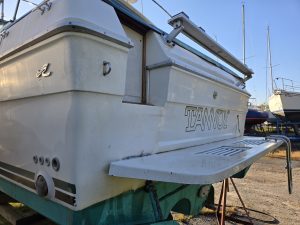
Removing and reinstalling your boat's name and registration number-what we call Brantford name/registration number removal/install-is a precise task that protects your vessel's gelcoat while maintaining a clean, professional appearance. Whether you're refreshing your boat's identity, preparing for a new owner, or restoring your hull after polishing and ceramic coating, this guide walks you through the process with care and clarity.
Boat owners in Brantford, Burlington, and across the Golden Horseshoe region often tackle this work themselves or hire professionals to ensure no damage occurs during removal. The stakes are real: improper technique can leave adhesive residue, crack the gelcoat, or create surface imperfections that undermine the shine and protection you've invested in. GTHN Boat Polishing specializes in this work as part of comprehensive boat restoration, combining name and number removal with our gelcoat restoration and ceramic boat coating services.
By the end of this guide, you'll understand the tools you need, the removal process that minimizes damage, surface preparation steps, and installation techniques that keep your name and registration secure for years to come.
Step 1: Gather Your Materials and Tools
Before you begin, assemble everything you'll need on your work surface. Having the right tools prevents rushing and reduces the risk of mistakes. You'll need a heat gun or hair dryer, plastic scrapers (never metal-metal scratches gelcoat), masking tape, rubbing alcohol, a clean cloth, and adhesive remover formulated for marine use. If you're installing new numbers, purchase marine-grade adhesive vinyl or letters rated for saltwater and UV exposure.
Think of heat and patience as your primary tools here. Heat softens the adhesive bond, making removal gentler on the gelcoat underneath. Plastic scrapers work similarly to how you'd use a plastic card instead of a knife-effective without damage. Keep rubbing alcohol nearby throughout; it dissolves residual adhesive and prepares the surface for new installation. If this feels unfamiliar or your boat's name and registration are large or complex, GTHN Boat Polishing can handle this work professionally, especially if you're coordinating it with hull polishing or ceramic coating application in Brantford.
Step 2: Apply Heat and Gently Lift the Lettering
Set your heat gun to medium or use a hair dryer on high setting. Hold it 6 to 8 inches from the boat name or registration number, moving it slowly across the entire area for 2 to 3 minutes. The goal is to warm the adhesive underneath without overheating the gelcoat or vinyl. Once warm, the adhesive loses its grip and becomes pliable rather than brittle.
Starting at a corner or edge, gently lift with your plastic scraper at a shallow angle-think of it as sliding underneath rather than prying upward. If the letter or number resists, apply more heat and wait another 30 seconds. Rushing causes the vinyl to tear or the gelcoat to chip. Work methodically around the entire letter, lifting a little at a time. Some adhesive will cling to the back of the lettering; that's normal and expected. Set each removed piece aside carefully-you'll need to clean the hull thoroughly once everything is off.
Step 3: Remove Residual Adhesive and Prepare the Surface
Once all lettering is removed, you'll see adhesive residue on your boat's hull. This sticky film must be completely gone before you install new name and registration numbers, otherwise they won't stick properly and the surface will look unfinished. Warm the residue gently with your heat gun again, then use your plastic scraper to roll the adhesive into a ball and peel it away. Repeat this process until most of the bulk adhesive is gone.
Next, apply marine-grade adhesive remover to a cloth and wipe the area thoroughly. Follow the product instructions carefully-some removers require a brief dwell time before wiping. Once the adhesive is completely cleared, wash the area with soap and fresh water, then dry it completely with a clean cloth. Finally, wipe down with rubbing alcohol on a cloth to remove any oils or residue. The surface should feel smooth and slightly tacky when dry-this tells you it's ready for new lettering. If you've recently had gelcoat restoration or ceramic coating applied, GTHN Boat Polishing can coordinate this prep work to ensure your hull is in perfect condition for new name and registration installation.
Step 4: Install New Name and Registration Numbers
New marine-grade adhesive vinyl comes with detailed application instructions-read them before you begin. Most vinyl transfers use a carrier sheet on top and backing paper underneath. Measure twice and mark the center point of where your new name and registration will go using a pencil or temporary marker. This prevents off-center installation and is especially important on boats where symmetry matters aesthetically.
Peel back a corner of the backing paper and position the vinyl at your marked point, then slowly peel away the backing while pressing down firmly with a roller, squeegee, or even a credit card edge. Work out air bubbles as you go-they trap moisture and cause premature failure. Once the vinyl is fully adhered, peel away the carrier sheet slowly and at a shallow angle. The lettering should stay on the hull; if it lifts away, press it back down and smooth it again. Allow 24 hours before exposing your boat to water. In Brantford and throughout the Greater Toronto Area, GTHN Boat Polishing combines this installation work with our mobile boat detailing services, often removing old branding and installing new registration as part of a larger restoration project.
If you're uncertain about any step or want professional installation, GTHN Boat Polishing brings expertise directly to your marina or storage location. We've handled Brantford name and registration number removal and install for boat owners who want a flawless finish coordinated with their hull polishing or ceramic coating. Get in touch to discuss your boat's specific needs.
Frequently Asked Questions
How long does it take to remove and install boat name and registration numbers in Brantford?
Removal typically takes 30 to 60 minutes depending on the size and age of the lettering, plus additional time for surface cleaning and preparation. Installation of new numbers takes another 30 to 45 minutes. The adhesive needs 24 hours to fully cure before water exposure.
Can I damage my boat's gelcoat during name and registration number removal?
Yes, improper technique can crack or chip gelcoat, especially on older boats where adhesive has bonded deeply. Using heat, plastic scrapers, and patience minimizes this risk. If your boat has valuable or original gelcoat, professional removal is worth the investment to avoid costly repairs.
What type of vinyl should I use for new boat name and registration numbers?
Always choose marine-grade adhesive vinyl rated for saltwater, UV exposure, and temperature fluctuations. Standard vinyl fails quickly on boats due to moisture and sun. Look for products specifically labeled for marine use with durability warranties of 5 years or more.
Should I coordinate name and registration number installation with other boat maintenance in Brantford?
Yes-if you're having your hull polished, ceramic coating applied, or seadeck flooring installed, scheduling name and registration work at the same time ensures your entire boat looks cohesive and new. GTHN Boat Polishing coordinates these services as part of comprehensive boat restoration projects.
Customer Testimonials
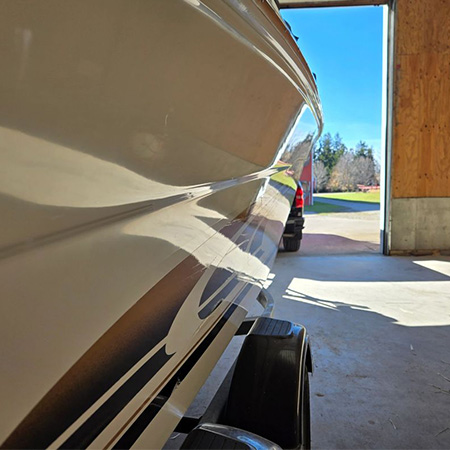
Kevin D, Caledon
I couldn’t be happier with how the ceramic coating turned out on my boat! I was blown away and the boat looks awesome! The shine is incredible and I know it will last. GTHN did an amazing job! Highly recommended!
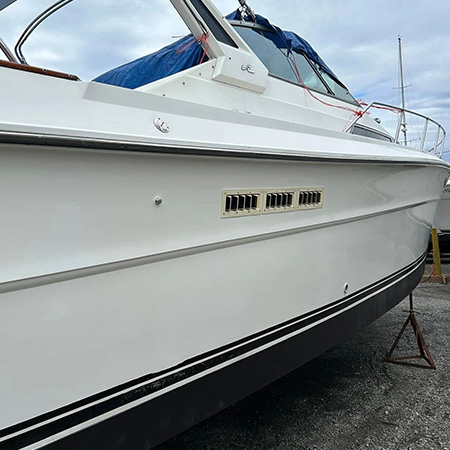
Jan P, Hamilton
I had GTHN polish my boat. He did a fantastic job! Upfront and honest, and worked very hard. I highly recommend them!
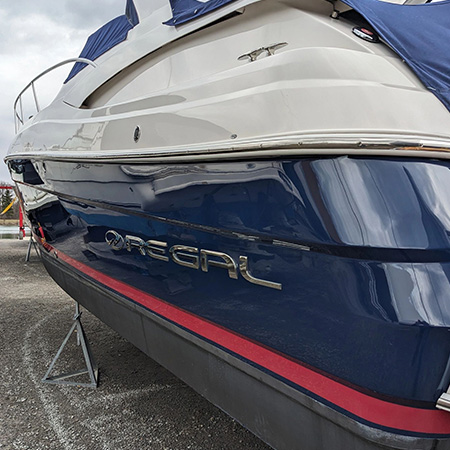
Chris B, Hamilton
It’s hard to find reliable people in this industry, but Neil was one of them. Price was fair, work was awesome, communication throughout was above and beyond. I will use GTHN again and would highly recommend if you found them, you do the same.
Phong T, Kitchener
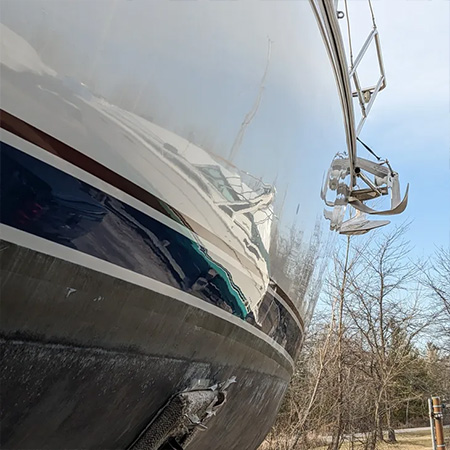
This was the first time I worked with Neil and the experience was great. He came out to do a couple of test spots before we settled into a quote and the rest of the scheduling was just as easy. The end result was fantastic.
Definitely recommended!!! 🙂
Diego M, Toronto
I’m amazed with the work that was done. I highly recommend it 100%
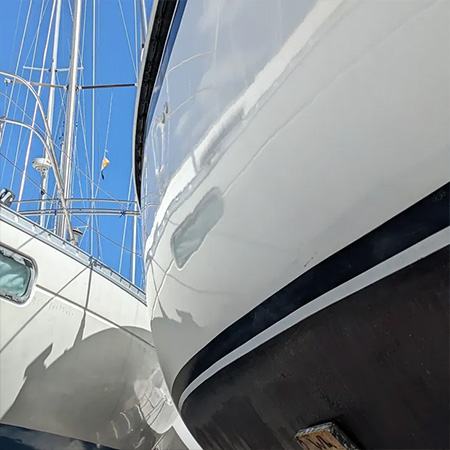
Fast and best ever results. Thanks Neil for your time and effort.
Steve B, Hamilton
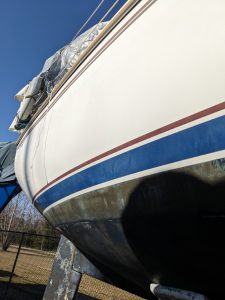
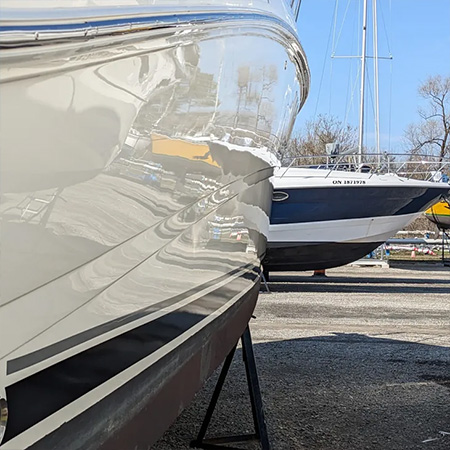
We are beyond happy with the work done on polishing the hull of our boat. Not only is the work amazing, but Neil went out of his way to get our boat ready on time for launching. Small touches like putting painters tape on the line separating the gel coat and bottom paint are appreciated. As is the extra time spent on trouble spots. Highly recommend GTHN Boat Polishing!
We Will Come To You!
Feel free to contact us with any questions regarding your boat! We would love to help!
GTHN Boat Polishing
info@gthnboatpolishing.ca – 289-698-5909
CALL – TEXT – EMAIL